
I created it with the December main and embellishment kits from Citrus Twist, but since I had already made three layouts previously, I basically challenged myself to make it with the leftovers, using minimal extras.

Supplies:
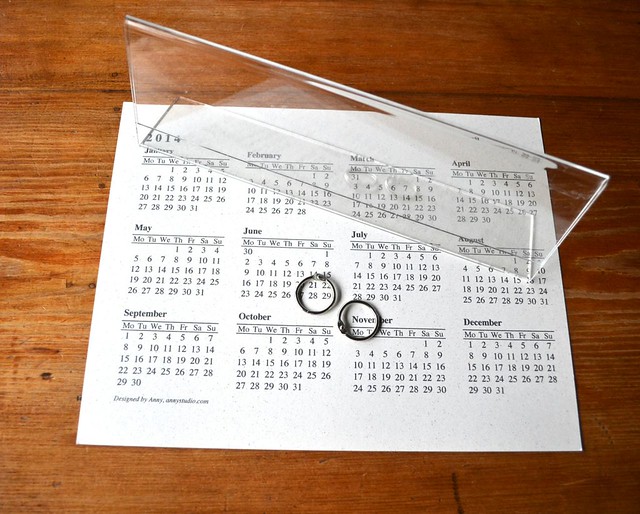
- a "cheap" panoramic acrylic frame (second hand is fine since you won't see the front anyway!)
- two 1" book rings
- a print out of a 2014 calendar (more information below)
- any kit leftovers or papers and embellishments from your stash
1/ I first looked for a free printable 2014 calendar and liked this one from annystudio.com which I printed on a 8.5x11 sheet of card stock (more free printable options can be found on Pinterest):
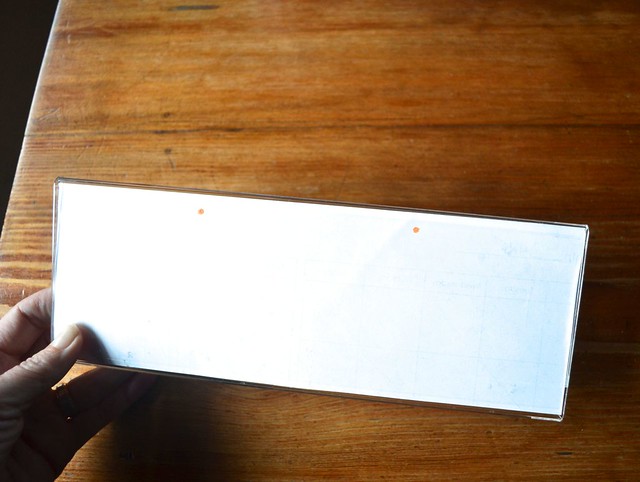
2/ I then inserted a piece of scrap paper the size of my frame and measured to center and mark the spots where I wanted the holes to go. With a drill, make two holes through the frame (for the book rings):
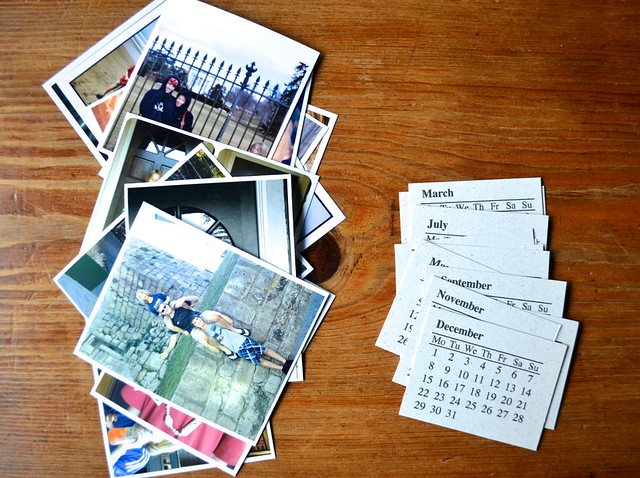
3/ Select 12 photos of various sizes (smallest is 3x3, largest is 3.5x4). I like to select a photo from last January for the January page and from last February for February and so on, but that's my own constraint! Cut up each month from your print out:
4/ Have fun with your papers and embellishments while you create twelve pages with a base measuring 10x3.5" (that will change according to the size of your frame):
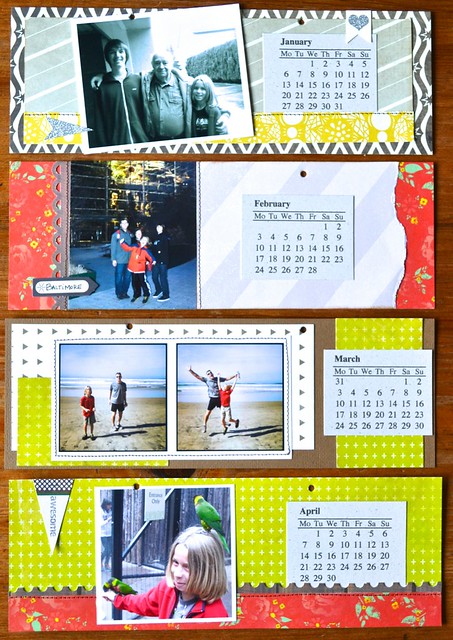
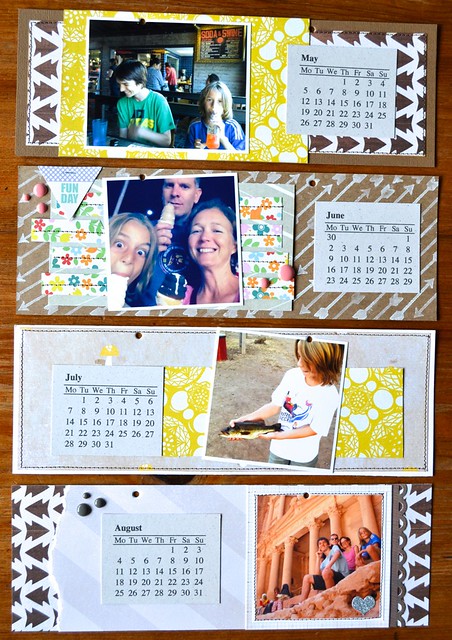

5/ After making two holes through each page, gather them all in order and attach them with the rings to the holes in the frame and voila!

Notes:
- The idea of using an acrylic frame came from this calendar that I had pinned more than two years ago!
- From a design stand point, I recommend you use some common elements on each page. For example, my month print-outs look the same and are the same size throughout the year, I used matching supplies from one kit and I used stitching on each one of my pages.
- Finally, because of the structure of the calendar, I would avoid large and bulky embellishments
As always, if you have any questions, feel free to post them in the comments and if you use this tutorial, please share your version with me!

This is really neat Nathalie!!! I love how this came out.
ReplyDeleteLove love love love this!!!!!! Pinning!!!!!
ReplyDeleteThis is a really cute project. Every year my sister gives me a little something with a photo of my nephew on it: maybe I should return the favour with a calendar!
ReplyDeleteCoucou Nathalie!
ReplyDeleteTon calendrier est fabuleux!
et le tuto est super bien expliqué!
Ce qui est chouette aussi avec ce calendrier c'est que l'on pourrait facilement le transformer en mini en ajoutant un peu de journaling pour chaque mois.
BIsous et Bonne Année!
Wowowow that calendar is just spectacular , I need to so something like that !!!
ReplyDeleteWhat a great tutorial!
ReplyDeleteThanks for sharing and happy new year!Rinda
Love the idea of this scrap calendar...
ReplyDeleteGREAT idea! Super cute, too. Pinning it. Thank you for sharing!
ReplyDeletewww.heartsandsharts.com
I want to make this for my husband. I'll be on the look out for a long photo holder. :)
ReplyDelete