
This new flip photo calendar was made for Citrus Twist Kits and was on their blog yesterday. It was created with leftovers from the January add-on kit "New Beginnings" (still available in the store) but you can use any scrapbooking supplies you have.

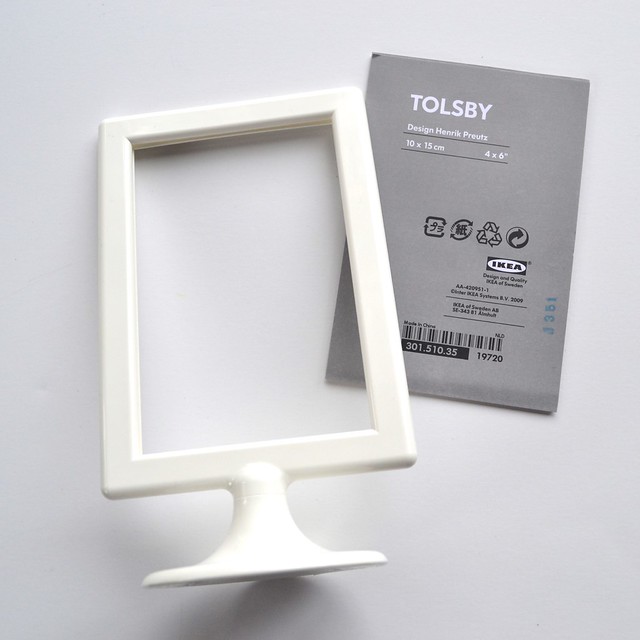
1. a Tolsby frame from Ikea (but I also saw at the last CHA that Tim Holtz was coming out with his own version. Probably a bit more expensive though!):
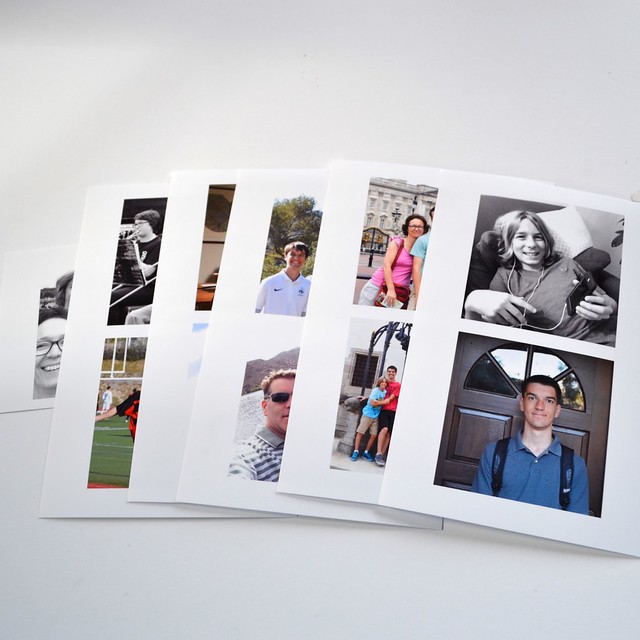
3. Twelve square photos trimmed to 2.25x2.25"
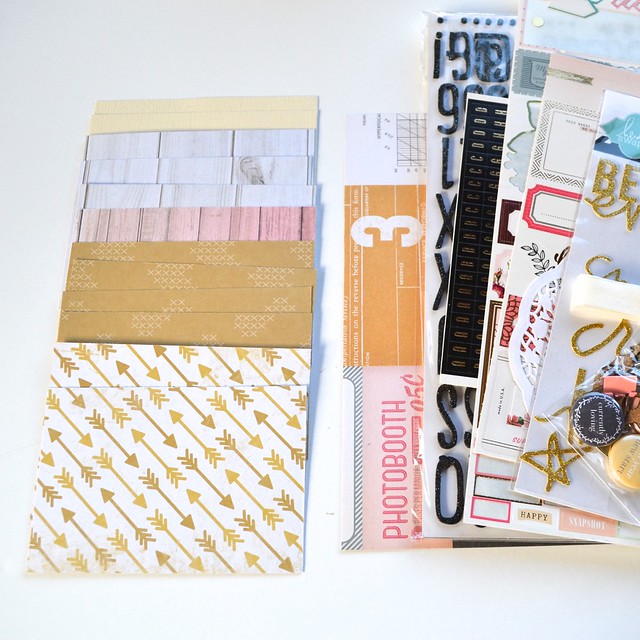
5. A computer and printer
Step 1: Go to this list of 2015 calendar templates and download the "Blank 2015 Desktop Calendar" (it's free).
Side note: You can find many other templates online. I picked this one because I prefer the European way of starting the week on Monday. You could also use mini paper calendars or stickers like SRM Stickers offers.
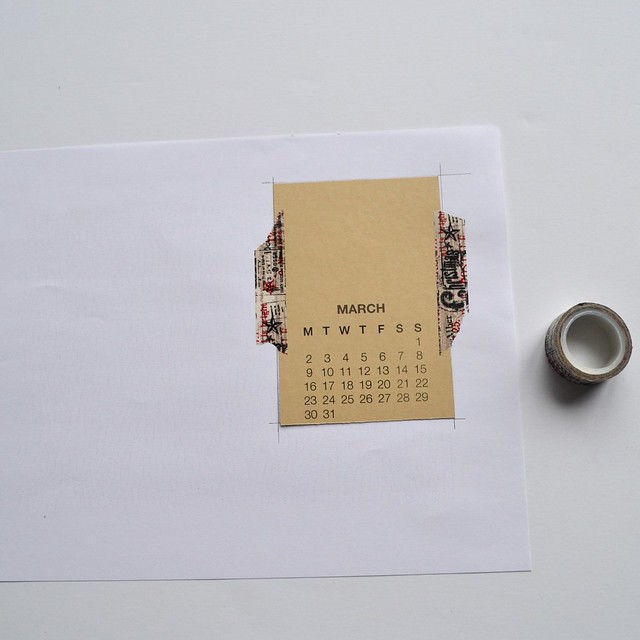
Step 2: Print the month of March (page 4 only) in black & white on a sheet of copy paper in order to create your template. Looking through a window figure out where your patterned paper needs to go and trace it:
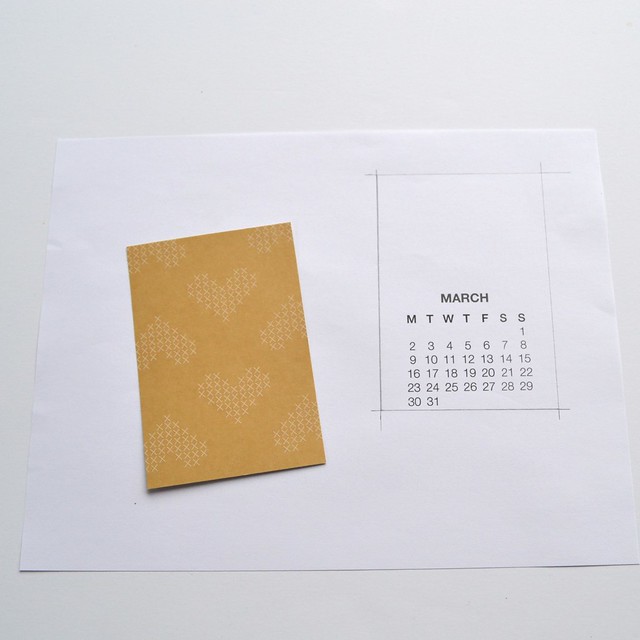
Now put it back through your printer with the patterned paper attached to the copy paper with washi tape. Repeat this last step taping a new piece of patterned paper and selecting a new month, once for each month:
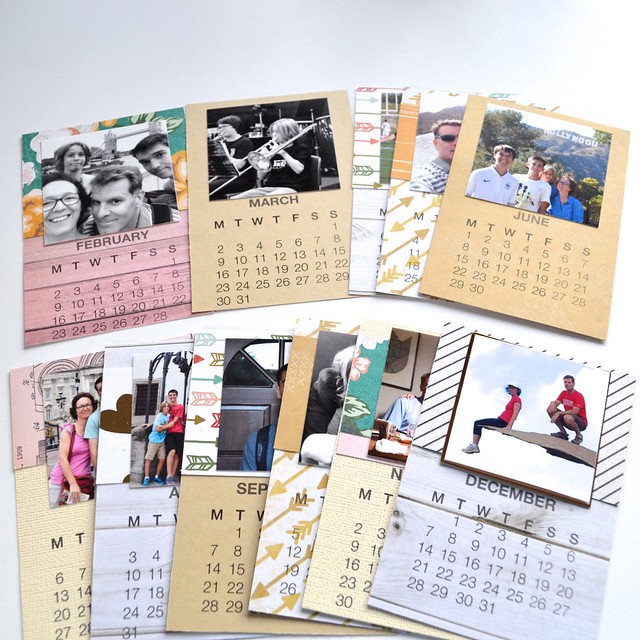
Step 3: Now the fun begins. Add layers and photos to each page:
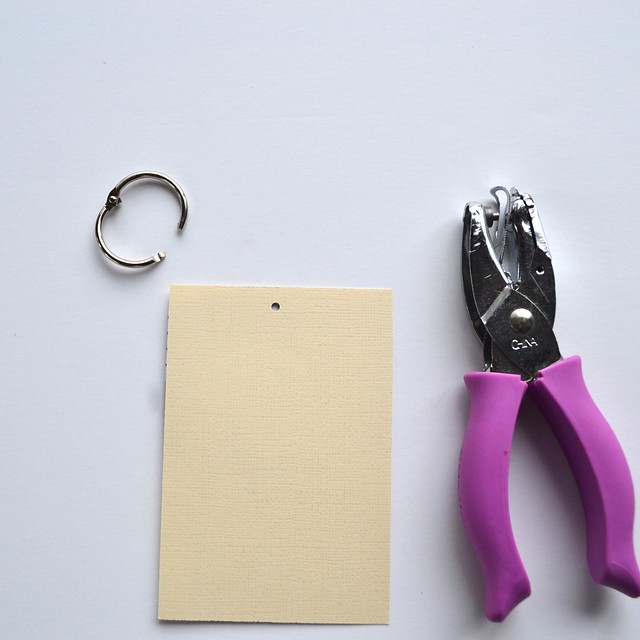
Step 4: Before you start really embellishing your pages, punch a hole on the top of each one for your book ring:
Step 5: Embellish and create a cover if you choose to:
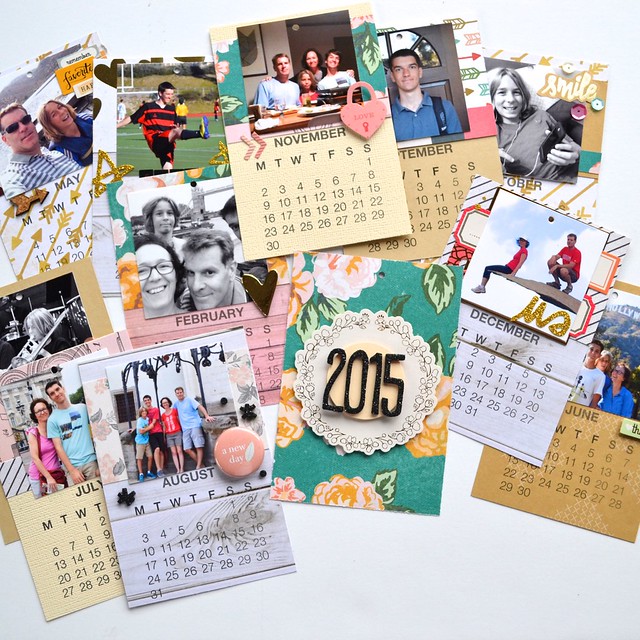
Step 6: Put the pages in order on the ring and attach to the top of the frame. Voilà!
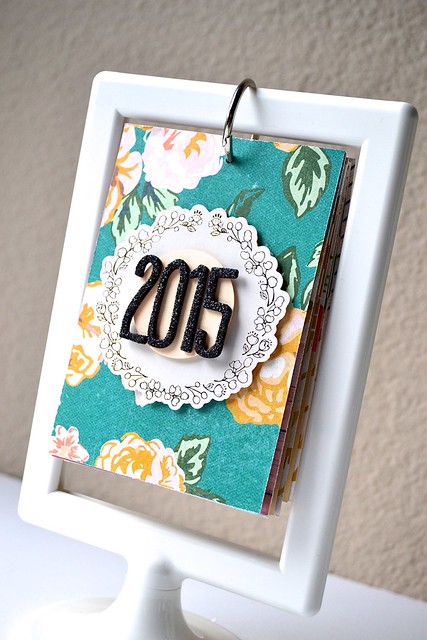
If you do decide to use this tutorial, please please please link your version in the comments because I would LOVE to see it!
Merci!

I always love love love your calendars and this years is no different!!!! Gorgeous!!!!!!
ReplyDeleteWhat a great idea and may use it next year x
ReplyDeleteA super idea ...i've pinned it to remind me to make one x
ReplyDeleteLove this. My mom cannot remember her grandchildren's and son in law's birthdays and has a hard time seeing, so I would have to come up with something unique. Thank you.
ReplyDelete